Today, Creative Team Member, Michelle James, is sharing Adjusting Individual Layers of ArtsyTransfers.
Follow this tutorial in Adobe Photoshop and Elements.
Adjusting Individual Layers of ArtsyTransfers
Introduction
MODIFY ARTSYTRANSFERS BY ADJUSTING INDIVIDUAL LAYERS OF THE .PSD FILE TO ENHANCE YOUR DIGITAL SCRAPBOOKING AND PHOTO ARTISTRY.
- ArtsyTransfers are layered element files delivered in .psd format for use in Adobe Photoshop and Elements.
- Layers are comprised of paint, marks, transfers, textures and beyond.
- The layered format allows for preservation of Blending Modes and provide maximum customization.
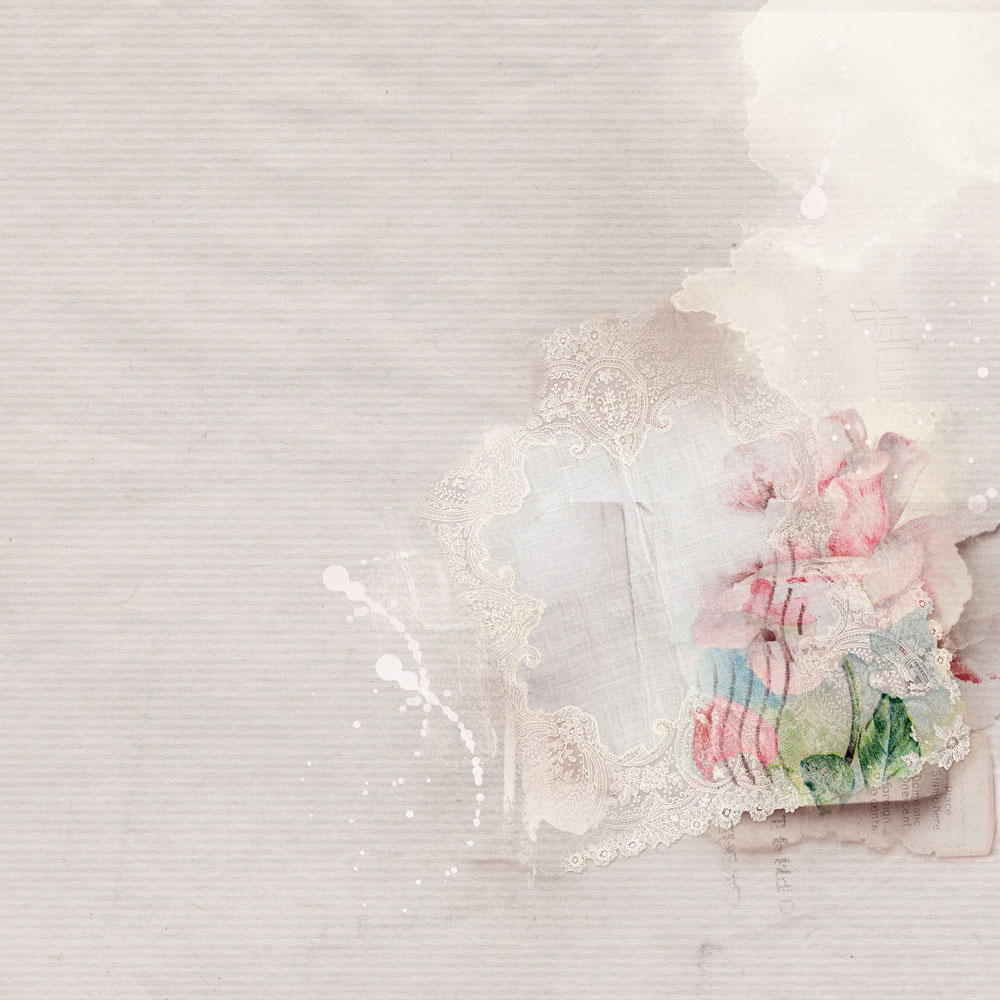
Establish Layout Foundation
SELECT AND PLACE A BACKGROUND SOLID PAPER AND AN ARTSYTRANSFER TO COORINATE WITH THE COLORS IN YOUR CHOSEN IMAGE
- Go to File>New and create a 12 x 12 inch layout at 300 PPI.
- Place the Solid Paper onto your digital scrapbooking layout using the Move Tool from the Tools Panel.
- Go to File> Open to import the ArtsyTransfer .psd file into your workspace.
- Reselect the Move Tool and click on the first layer of the ArtsyTransfer in the Layers Panel.
- Hold down the SHIFT button on the keyboard and click on the last layer to select ALL the layers.
- Move or ‘drag’ all the layers to your Layout Foundation.
Note
- A .psd file from ArtsyTransfers Romance was used in this layout.
- Group the ArtsyTransfer layers together in a ‘folder’ to keep them organized in the Layers Panel via Layer>Group Layers or by using the keyboard short cut Control + G.
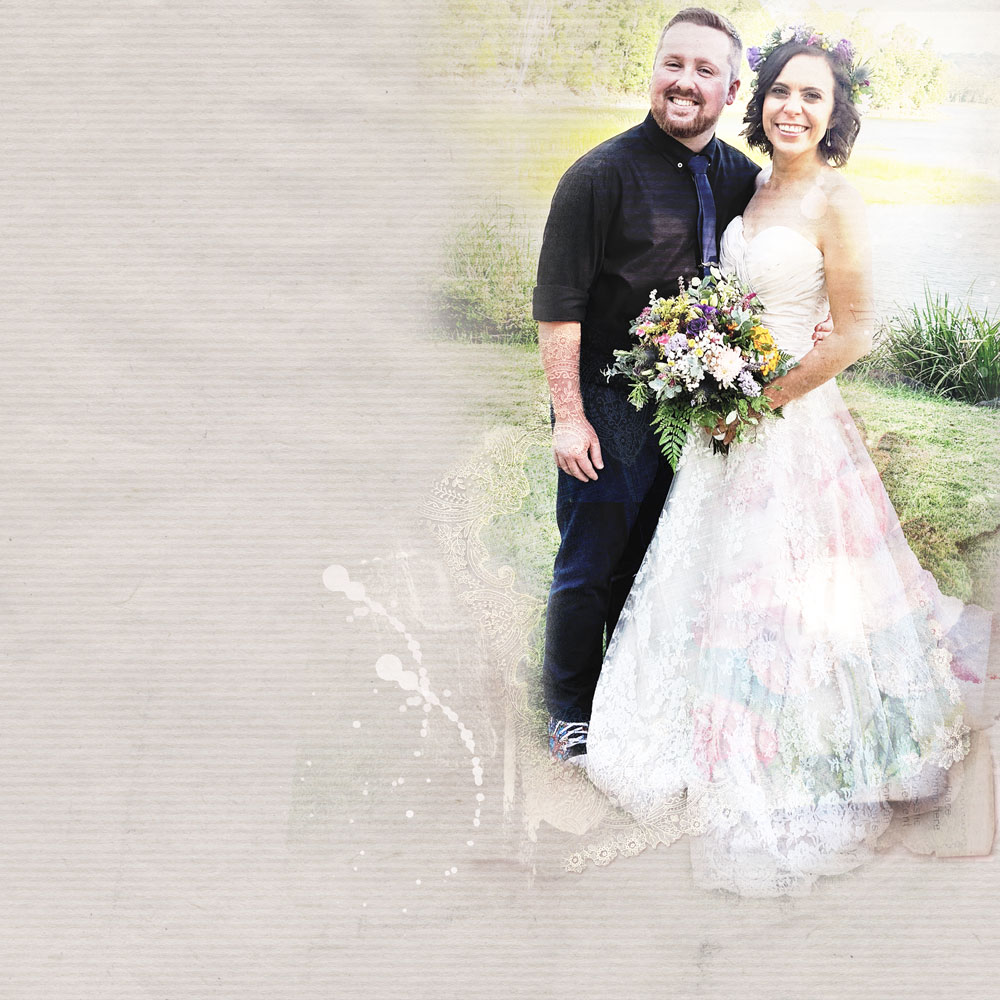
2. Add Your image
ADD YOUR IMAGE TO YOUR LAYOUT INCORPORATING BLENDING MODES.
- Use the Move Tool to add your photo to the Layout Foundation.
- Place the image as desired on top of your Solid Paper background and ArtsyTransfer.
- Edit your photo as desired via Image> Adjustments> Levels or Image> Adjustments> Curves.
- Drag the photo layer to the New Layer icon in the Layers Panel to Duplicate the image.
- Experiment by applying different Blending Modes to the image layers.
- Click on the ‘Normal’ tab at the top of the Layers Panel to activate a drop-down menu of Blending Mode options.
- Scroll through the options to see the effect of each Blending Mode.
- Color Burn, Hard Light and Screen Blending Modes, all at 100% Opacity were applied to the photo layers in this layout.
4. Embellish your Layout
COMPLETE YOUR LAYOUT WITH YOUR CHOICE OF DIMENSIONAL ELEMENTS AND WORDART
- Place elements, such as Splatters, Overlays, Transfers and ArtStrokes from the Artplay Palette of your choice to coordinate with your photo and design.
- These elements should be introduced Below the image layer in the Layers Panel so as to ‘peek out from behind the image’ and create a ‘decorative matte’ to the blended image.
- Add dimensional embellishments including MultiMedia elements, Stitching, TapeTextures, PaperTextures (available from the Tools Section of the aA store).
- Place WordART and journaling to add Context to your Theme and Photo.
Note/Tip.
DigitalART Supplies
Find a complete list of aA DigitalART supplies in this digital scrapbooking layout.
Summary
You can use the individual layers of the ArtsyTransfers .psd file to embellish and enhance your photos.
- Create a layout foundation using aA DigitalART and your chosen blended photo.
- Open an ArtsyTranfer file and move individual layers onto your digital scrapbooking layout design.
- Reposition and modify the layers as preferred.
See also:
And if you liked this Adjusting Individual Layers of ArtsyTransfers Tutorial Post, please try the technique and post your layout here.